
Have you ever wanted distressed jeans (meaning jeans that have rips and frays for a trendy, lived-in look) without spending a fortune on designer distressed denim? We can help you take your standard jeans and turn them into a unique pair that you love.
Distressing jeans is a simple DIY process that lets you customize your denim with rips, frays, and a worn-in look. To distress jeans, start by marking areas like knees, pockets, or hems while wearing them for accurate placement. Insert cardboard inside the leg to protect the fabric, then use scissors to make small cuts and tweezers to pull threads for a frayed effect. Lightly sand the denim to create a naturally worn look, then wash the jeans to soften edges and enhance the final finish.
If you are looking for a more detailed guide, we have laid out all the materials and steps you need to get started, using tools you likely already have at home. Whether you want subtle fraying or bold, statement-making rips, this guide will help you transform a basic pair of jeans into a customized, perfectly distressed staple.
What You’ll Need
Before we dive into the process of how to make distressed jeans, let's make sure you have all the necessary tools on hand. The beauty of this DIY project is that most of the items you'll need can be found around your house. Here's a list of the essentials to gather in advance of distressing jeans:
- Chalk or a fabric marker: Chalk or fabric markers come in handy for temporarily marking the areas on your jeans where you want to create the distressed effects. This ensures precision and helps you visualize the outcome before making permanent changes.
- Scissors: You'll use these to create frayed edges and larger rips. If you decide to forgo all other recommendations, this is the most prime tool to distress jeans you can use, so make sure you have a nice, sharp pair on hand.
- Tweezers: Tweezers are ideal for adding a touch of precision to the process. They can help pull out individual threads to create a more natural-looking, frayed effect in distressed areas.
- Sandpaper or a pumice stone: Incorporate sandpaper or a pumice stone by gently rubbing it against the denim to create a worn-out look. These are great tools for achieving a subtle, faded appearance.
- Cheese grater: A cheese grater might sound unconventional, but it's a versatile tool that’s hard to beat when it comes to adding texture and small, rough patches to your jeans!
- Cardboard or a magazine: Place a piece of cardboard or a magazine inside the leg of your jeans while distressing them. This prevents any tools from cutting or damaging the other side of the fabric.
Once you've gathered all your tools, you're ready to learn how to distress pants and transform them into a new closet staple!
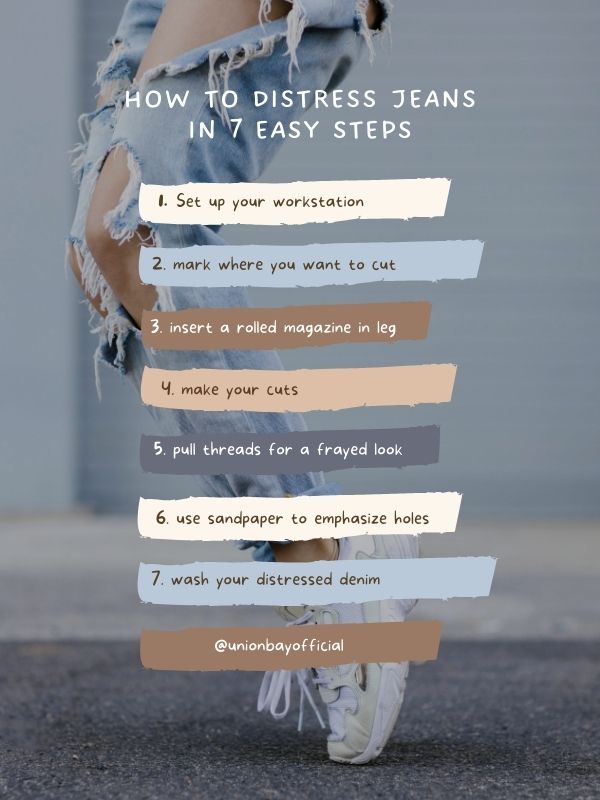
How to Distress Jeans: 7 Easy Steps
Follow these seven easy steps to create a unique, stylish look that's entirely your own. Remember, there's no right or wrong way to distress your denim, so kick back and have fun with it!
1. Set Up Your Workstation
First things first, choose a well-lit and spacious area to work. Lay out your jeans on a flat surface and have all your tools within reach. A large, flat surface like a table or a large cutting board is ideal for spreading out your jeans and tools. Arrange your scissors, chalk, tweezers, sandpaper, and any other tools you’re using within arm's reach to keep the process organized and efficient.
If you're working on a delicate surface, consider placing a protective layer, such as a thick piece of cardboard or a craft mat, underneath your jeans to prevent any accidental damage.
2. Mark Where You Want to Cut
Precision is key when marking your DIY distressed jeans. Use chalk or a fabric marker to draw lines or subtle dots that indicate exactly where you want to create rips, tears, or distressed areas.
When deciding where to place these marks, think about the natural wear and tear patterns of denim. Areas like the knees, thighs, pockets, and hems tend to show signs of distress over time, so targeting these spots can give your jeans a more authentic, lived-in feel. Remember to mark both the front and back of the jeans if you want a distressed look from all angles.
It's also helpful to try on your jeans and mark them while wearing them, as this can give you a better sense of how the finished product will look on your body.
Once you're satisfied with your markings, double-check them before moving on to the cutting stage to ensure you achieve your desired effect.
3. Insert a Rolled Magazine in the Leg
To ensure precision and safety while preparing to distress your jeans, insert a barrier between the layers of denim. A rolled-up magazine or a sturdy piece of cardboard works perfectly for this purpose. Slide it into the leg of your jeans, positioning it directly under the area you plan to cut.
This not only prevents accidental cuts through to the other side but also provides a firm surface that makes it easier to control your scissors. Make sure the magazine or cardboard is wide enough to cover the entire area you'll be working on. If you're distressing multiple areas on the same leg, you can move the magazine or cardboard as needed.
This simple step can save you from unwanted mistakes and ensure a cleaner, more controlled process so you can achieve that perfectly imperfect distressed look.
4. Make Your Cuts
Now it's time to bring your vision to life. Take your scissors and start cutting along the lines or dots you marked on your jeans. Remember, the beauty of distressing jeans lies in the imperfections, so don't stress about making flawless cuts. In fact, slightly jagged or uneven edges can be a sartorial choice and even enhance the rugged appearance.
For larger holes, start by cutting a small slit, then use your fingers or the scissors to gently tear the fabric further, creating a more natural, worn-out look. As you cut, you can adjust the size and shape of the holes or frayed areas to suit your personal preference. If you're going for a more dramatic effect, consider making a series of smaller cuts next to each other, which can be torn or frayed to create a larger distressed area.
Take your time with this step; don't be afraid to step back and assess your work as you go. The goal is to achieve whatever style reflects your unique aesthetic.
5. Pull Threads for a Frayed Look
After making your cuts, the next step is to create a frayed look that adds texture and depth to your distressed jeans. Using a pair of tweezers, carefully pluck out the horizontal threads along the edges of your cuts. This will leave the vertical threads exposed, creating that classic frayed effect.
The more threads you remove, the more pronounced the frayed appearance will be. Use a gentle touch to avoid tearing the fabric, and take your time to achieve an even, natural-looking fray. For areas where you want a more subtle frayed look, lightly tease the edges with your tweezers to loosen the threads without fully removing them.
If you're new to fraying denim, you might also find it helpful to practice on a scrap piece of fabric first to get a feel for how it responds to the tweezers.
6. Use Sandpaper to Emphasize Holes and Cuts
Once you've achieved the desired level of fraying, it's time to add some finishing touches with sandpaper or a pumice stone. Gently rub the sandpaper or stone over the cuts, edges, and other areas of your DIY distressed jeans that you want to highlight, such as the seams, pockets, and hems.
This will soften the edges of your cuts and create a more worn-out appearance, enhancing the overall distressed look. Pay special attention to areas that would naturally wear out over time, as this will lend an authentic, lived-in feel to your jeans. This step adds depth and character to your distressed denim, making them truly one-of-a-kind.
The key is to use a light touch and build up the effect gradually, so you don't overdo it. As you work, continue to periodically step back to assess your progress and make adjustments throughout.
7. Wash Your Distressed Denim
The final, crucial step in knowing how to distress denim is to give your jeans a good wash. This not only cleans any residue from the distressing process but also helps to soften the edges of the cuts and frayed areas, making them look more natural and worn. Place your jeans in the washing machine on a gentle cycle with a mild detergent. Avoid using bleach or fabric softeners, as they can affect the color and texture of your denim. Once the wash cycle is complete, remove your jeans and shake them out to loosen any stiff fibers.
For drying, it's best to air dry your jeans to preserve the distressed effects. Hang them up or lay them flat to dry, away from direct sunlight, to prevent fading. As your jeans dry, you may notice the distressed areas becoming more pronounced, adding to the uniqueness of your creation.
From simple, subtle frays to giant, purposeful tears, the key to distressed denim is to have fun and enjoy the creative process. Happy distressing!
How to Style Distressed Jeans
Now that you know how to make women's jeans look distressed, you may also be interested in learning about ways to embellish them!
- Embroidery: Add a unique touch to your ripped jeans by embroidering designs or patterns around the rips or on other parts of the jeans. Floral motifs, geometric shapes, or even personalized monograms can add a pop of color and texture.
- Patches: Iron-on or sew-on patches are a fun way to cover or accentuate rips in your jeans. Choose patches that reflect your interests, such as band logos, cartoon characters, or vintage-inspired designs.
- Paint: Unleash your inner artist by using fabric paint to create wholly original art on your jeans. You can paint directly over the rips or choose to leave those elements exposed so they’re still a main feature of the jeans.
- Beads and Sequins: For a touch of glamour, consider adding beads or sequins around the rips or along the seams. A heavy hand of bedazzling can transform your jeans into a real statement piece.
Find Your Style at UNIONBAY
Now that you know how to distress jeans, you’ll need to find the perfect items to pair with them! Browse our variety of women's shirts, sweaters, and jackets to create unique outfits with your newly distressed jeans. When it’s too hot out for pants, check out our collection of denim shorts for women, which may even inspire you to keep the creativity flowing, and read our guide on how to fray denim shorts! If you're looking to expand your wardrobe with more trendy and versatile pieces, explore UNIONBAY’s wide range of trendy clothing and accessories.